1. Sending outbound messages
First, make sure you have added your customer details including phone numbers into the Contacts section - you can import these via CSV or add manually. You can also import contacts from your Xero or Quickbooks software.
To send an outbound message via WhatsApp, click on the New message button:
![]()
Select a recipient from your Contacts:

You can send messages to contacts, and also send messages to internal users via internal chat.
When sending a new outbound WhatsApp message to a contact or customer, you must first send a message template that has already been approved by WhatsApp. You can find out more on how WhatsApp message templates work here.
Once you send a message template and receive a response from the contact, a 24 hour message session is initiated. You can then freely message the contact in this period without sending message templates.
If more than 24 hours elapses since your last message to the customer, then the window closes and you must send another message template to re-open the session with the customer.
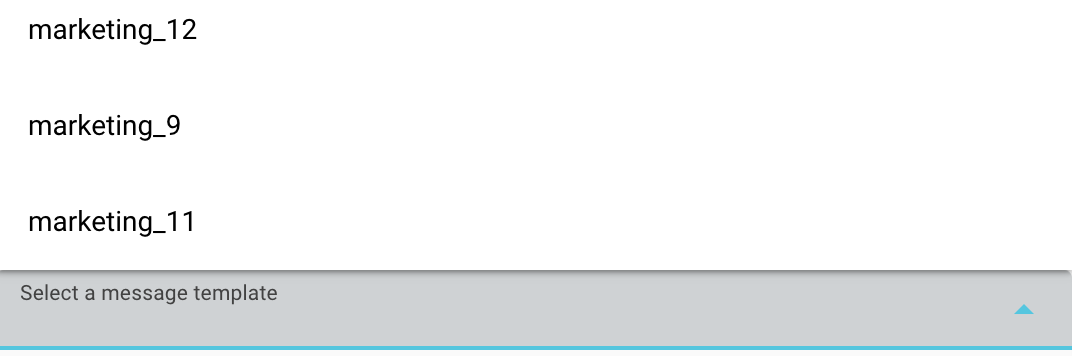
To select a message template, click on the message box and choose from the list displayed:
![]()
When you send a new message, it creates a new conversation. All subsequent customer inbound messages will be routed to that conversation.
More information on Converso conversations can be found here.
It's also possible to change channel during a conversation - for instance you may initiate the conversation with a text in order to generate an opt-in from the customer, and then move the conversation to WhatsApp.
2. Inbound messages received from contacts
When a new inbound message is received from a contact, you can then message the contact freely (without message templates) as long as no more than 24 hours elapse since the last message received from the customer.
If the message is received and there is no open conversation, then a new conversation will be created with the customer. If however a conversation with the customer already exists, then the inbound message will be added to that open conversation.
When an inbound message is received, the name (as provided by WhatsApp) and the phone number will be displayed, and will also be automatically saved into Contacts.
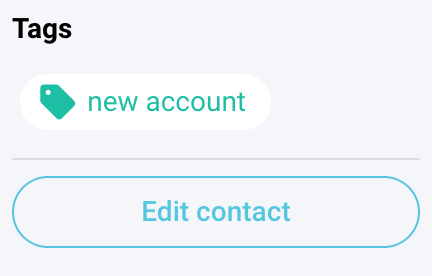
The name and other details can be edited by clicking the Edit contact button in the customer details panel on the right hand side:
If the sender's mobile number matches a number that already exists in Contacts, then those Contact details will be associated with the conversation.
When a conversation is created, it's possible to assign the conversation to a member of the group. This then makes it that member's responsibility to respond to future messages.
To assign a message just click on the Manage icon at the top of the conversation panel:

This opens a pop up where you can assign the conversation to a user or multiple users:
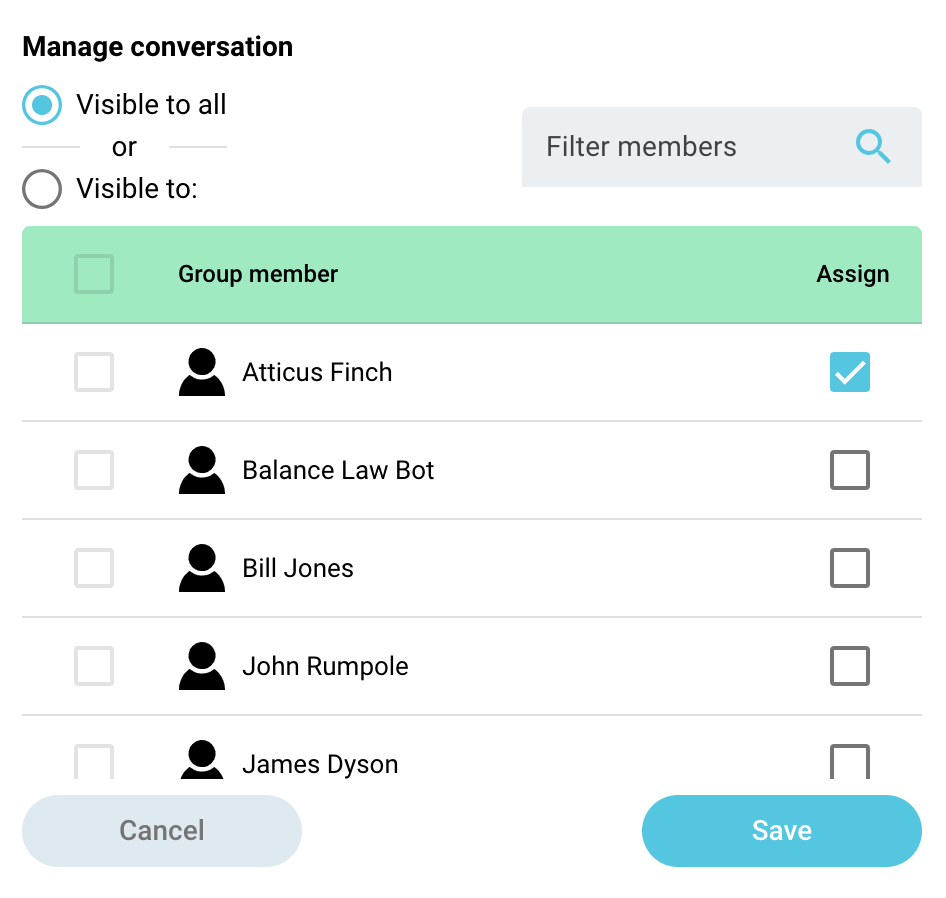
It's also possible to transfer the conversation by assigning it to another user to respond to, if required.
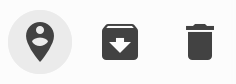
A conversation can also be archived, and Admins can also delete conversations, via the buttons at the top fo the conversation:
Inbound and outbound messages can include file attachments such as documents, images, and videos. To attach a file, just use the file icon on the message box at the bottom of the screen.
When a message is received, an attached file can be saved by right clicking the image.
When an inbound message is received you will receive a new message notification (further details on new message notifications can be found here).
In the right hand customer details panel, you can find further details on the contact such as address, relevant tags, and notes, which can provide context to the conversation. These details can also be edited by clicking the Edit contact button.